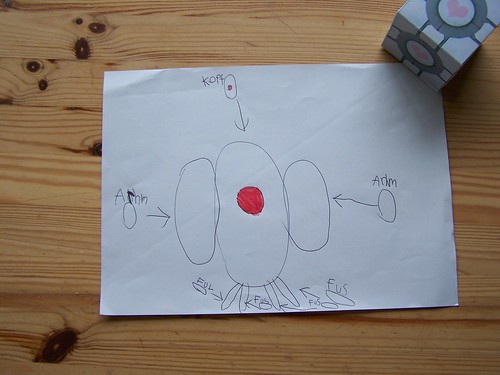
My (then 6-year-old) daughter and me were pretty impressed by this build of a Portal Turret, and since she is quite a big Portal fan, this thing went straight up to the top of her birthday wish-list.Actually, here’s the master plan she drew for me:
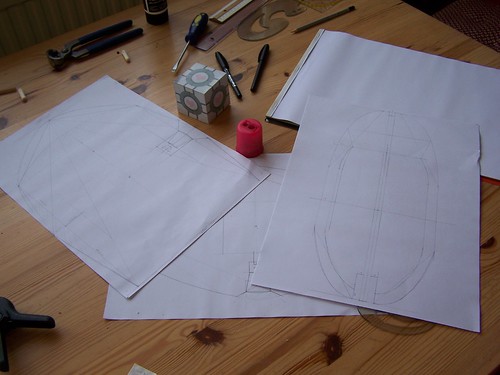
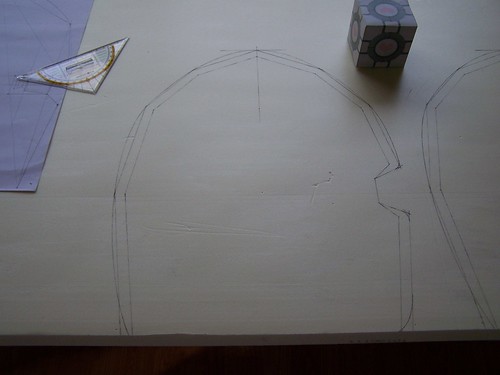
Well, I guess I could do something with a bit of Styrofoam and paper mâché, I guess … let’s first draw up some more detailed plans:
While I went to buy the material, my daughter couldn’t resist talking to her school friends that her ultra-cool father is building a robot for her …
… and it will talk and sing …
… and dance …
… and shoot …
… and fly …
… and then she invited all her friends to come and see it …
Well, the shooting and flying is out of the question, and the dancing would be tough. But singing and talking – well, let’s see what I can do.
With so much pressure on me now, we better get started before the kids arrive.
1. The Body
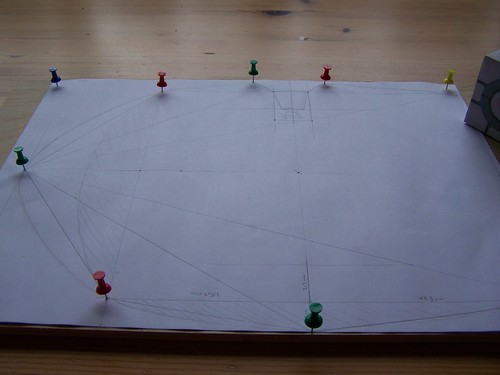
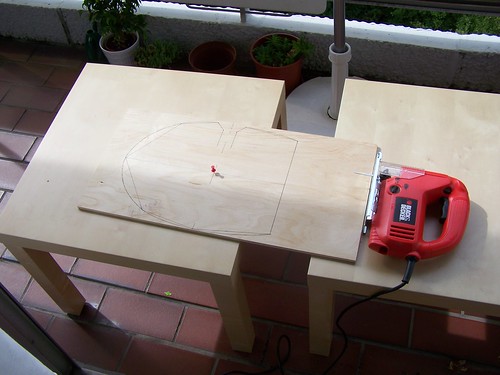
To hold it all together, I decided to start with a centre piece made of plywood:
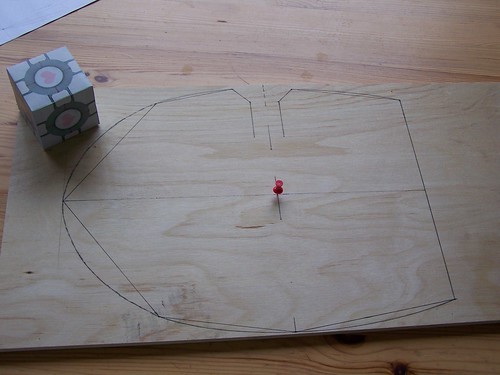
Transferring the measurements
The core shape is ready to be cut out:
Better do this on the balcony where it is easier to clean up:
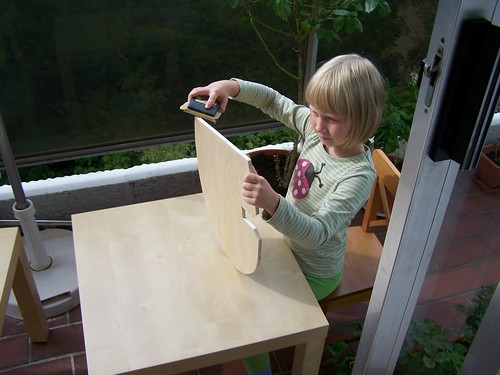
Zofia is helping me to sandpaper the workpiece:
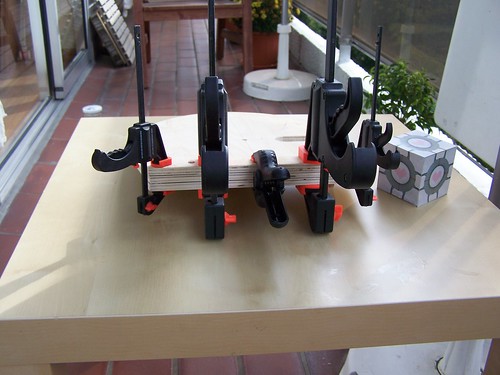
Next step: I fixed two stripes of wood to the bottom where the legs can be attached later:
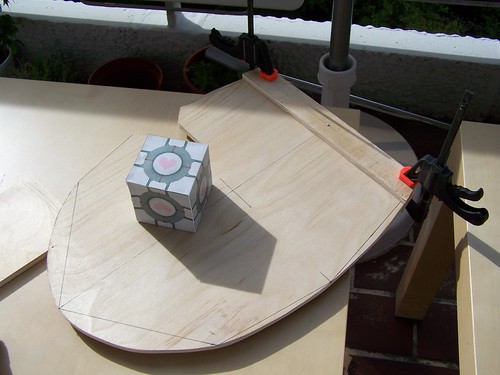
Remember: wood lime holds better the more pressure is applied at this stage:
While the lime sets, we can start with the main turret body. For this I bought a few panels of insulation material from the local “bricolage” shop.
Once again, let’s transfer the measurements:

Zofia helped me with the cutouts (be careful with that knife!)
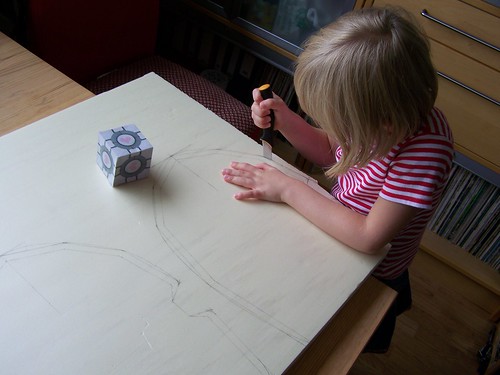
Looks good and all fingers are still attached. I call this a success.

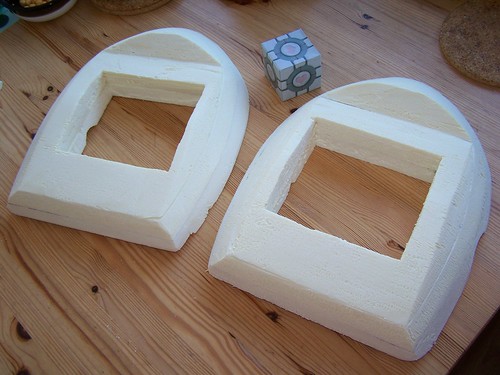
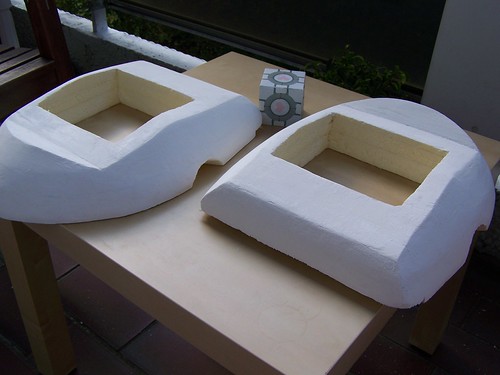
Each body half consists of two and a half layers of Styrofoam which are glued together and cut to create the body shape:

If the measurements are precise, it is actually easy to cut the body into shape:
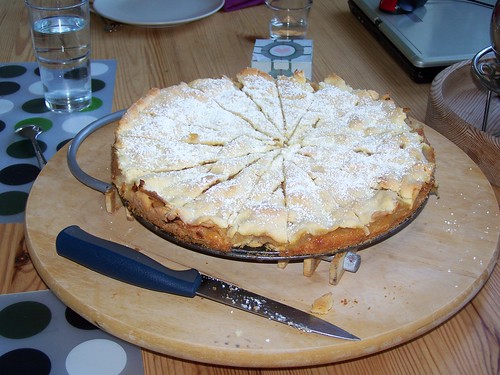
At this stage, grandmother treated us with some delicious moist cake (no lie!):
Meanwhile some of Zofia’s school friends came by to see how things are going, and they helped us with the companion cubes you can see all over the place.
To get an idea how it looks like, I just clamped the two halves together:

To finish it up, I added a layer of filler putty to get a smoother surface and as a foundation for the outer shell (to be added later):
Let this dry and harden and let’s focus on another part of the project:
2. Electronics
Honestly, I was a bit scared of the electronics part. I never really made anything more complicated than connecting a light bulb to a battery. If this thing ever was to talk, I would probably need to learn a lot before I can make it work.
Luckily, just at that time the local hackerspace organised a Nanode soldering event. Just what I needed! The best way to get started with soldering is to meet up with nice people to share some solder, a multimeter and drink some Club Mate.
Most of all, this was a great starting point to learn a bit of of electronics to start my own projects. I also got myself a copy of a book called “Teach yourself Electronics” from an on-line bouquinist and quickly mounted a massive bill of electronic components just for “trying this out”.
In the end, I also replaced the Nanode I’ve soldered in the hackerspace with an Arduino Uno, which works better with the Wave Shield I am using for the “speaking and singing” part of the project.
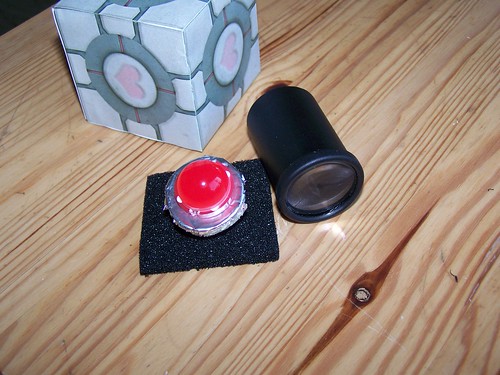
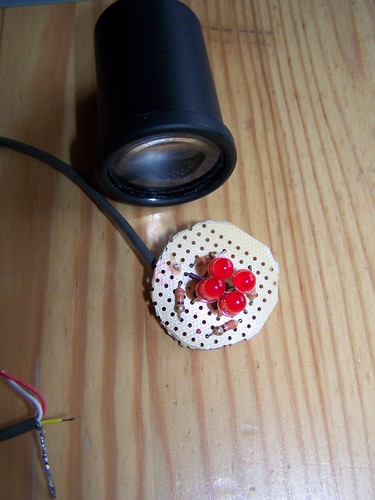
Starting point for me was a old film capsule, an even older lens (I think I found this in the trash one day when I still went to school) and an oversized red LED, which all fitted neatly together, but never made it to the final build because the LED turned out to be too dim. Learning from your mistakes, that’s what this is all about. And making photographs, of course, here it is:
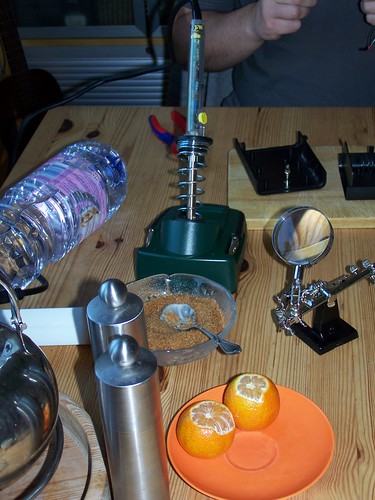
Speaking of which, here’s also a photograph of the workplace. Note the tea can and the (non-incendiary) lemons in the foreground:
More interestingly, here’s a picture of an early version of the setup, built into a cheap plastic case I’ve found and which has just the right measures to fit the design:
Even better, the Arduino fitted nicely between the mounting holes at the bottom and it was quite easy to create the necessary holes in the case to make sockets, etc. accessible from the outside.
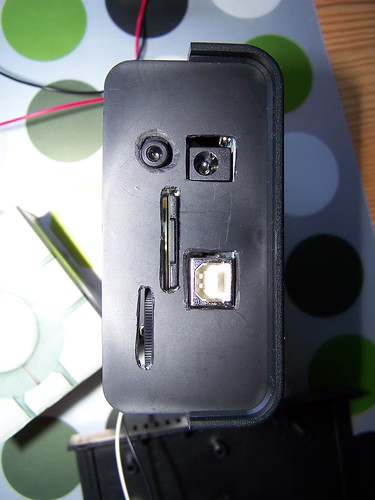
The SD-Card holds the WAV files with whatever a turret may say in the original Portal game (I’ve extracted the files from the game). I’ll post the source code to play them here later in case anybody is interested.
Z. of course wanted to help me with the soldering as well. She actually did some very nice solder points before she discovered that the tip of the iron is indeed hot.
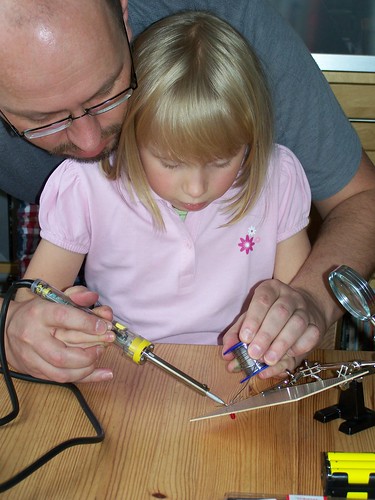
Oh, well, it’s all in the interest of science, and the burns were gone after a week or so.
On the picture above, we were actually working on the second version of the Eye:
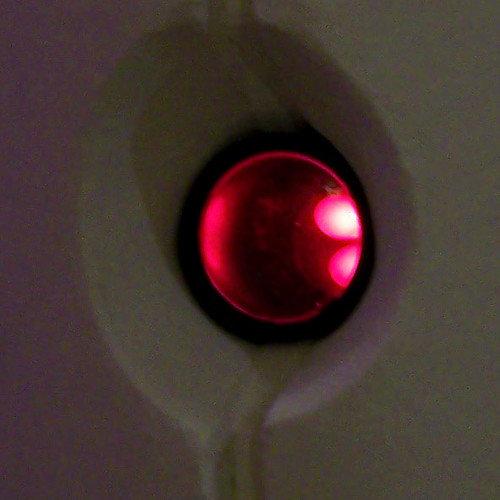
Unfortunately, the 200W Helium-Neon laser that was planned for the eye didn’t make it through health & safety (duoh!) but have a look at this close-up:
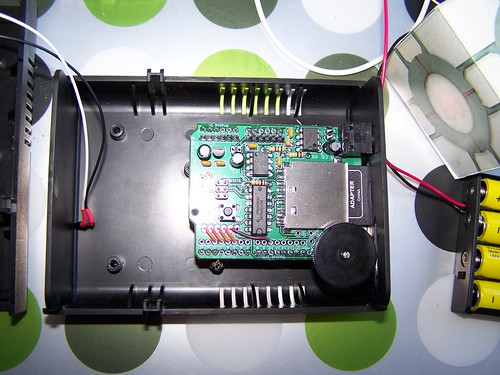
This is the final (well, somewhat) version of the “brain” box. You can see the PIR for motion detection and the transistor that drives the LEDs:

There is also a second case for the other side which houses the speaker and a 9V battery so it can run without a power adapter. This has the disadvantage that it needs some cables to connect the two with each other, but it also helps to balance the whole machinery.
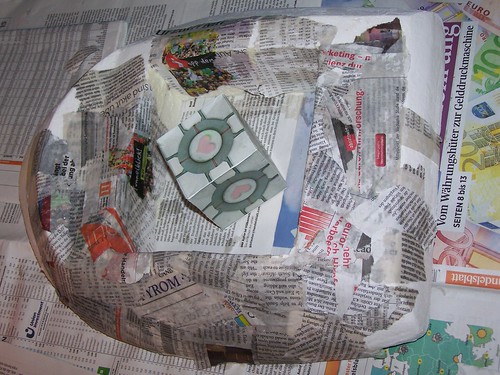
Surface
While the body parts now had the right shape and colour, it was still very sensitive to bumps and scratches. To resolve this, I added a layer of newspaper mixed with wallpaper lime. This gives just the right strength without adding much weight:
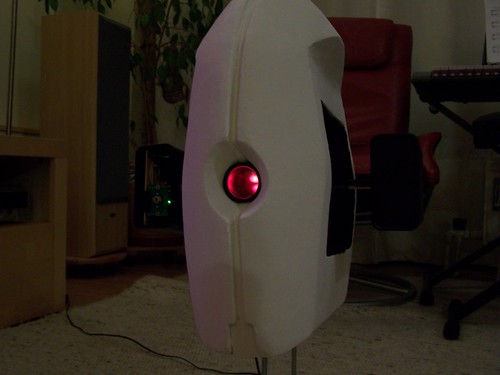
Some sandpapering, a layer of paint, sandpaper, paint, sandpaper, lacquer… the surface starts to look nice. Here is is in all its glory:
And that’s actually the state the turret is in at this time. It’s still waiting for time and inspiration to finish these wings, not to mention the proper legs.
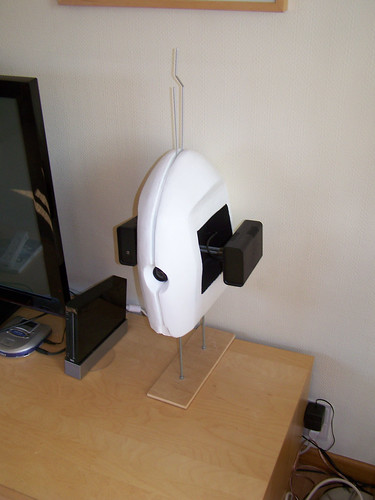
The TV set is safe now. Just if anybody tries to get near that Wii… your funeral!